



Ever wanted to take great animal photos but felt overwhelmed by all the gear pros use? Don’t worry. I’ve been in your shoes, tried lots of equipment, and made plenty of mistakes. Now you can avoid those and jump straight to the fun. Here’s a simple guide to the basics of wildlife photography gear.
Photographing a fox or an owl is always exciting, but before you go out, let’s make sure you have the right gear. Start with what you already have, even if it’s just your phone. Let’s get started!
Camera Body
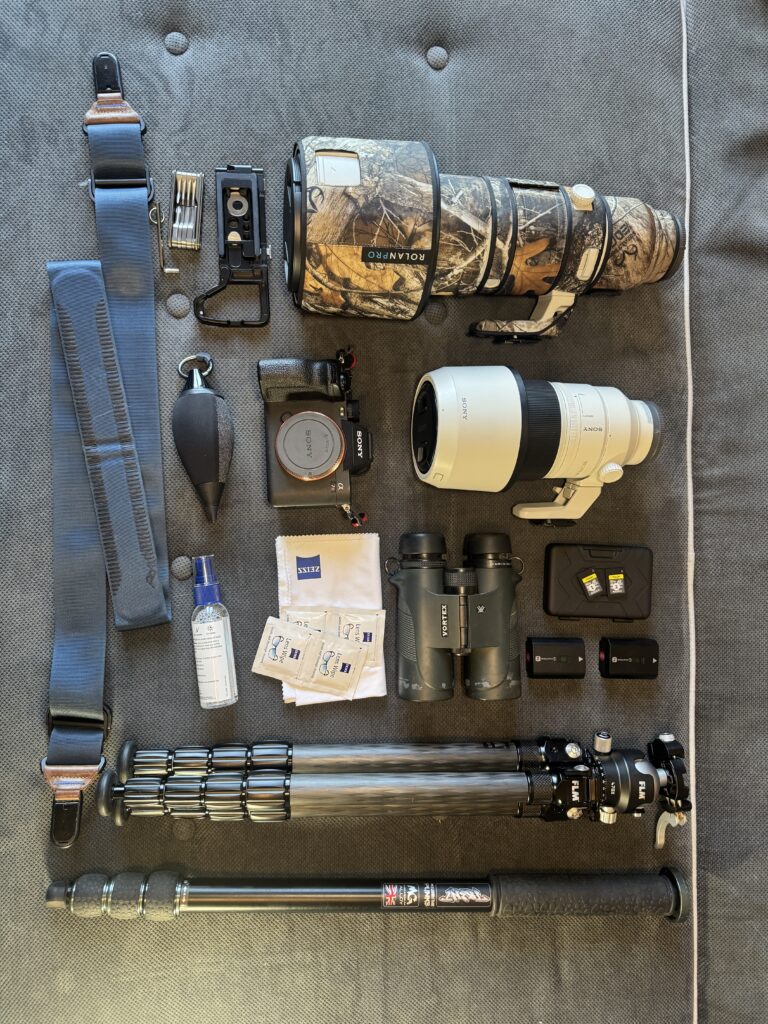
Your camera is your main tool, but not necessarily the most important one. If you can afford a quality body, choose one that performs well in low light, has strong autofocus, and offers high FPS. Both DSLRs and mirrorless cameras are great choices, but mirrorless cameras are usually lighter and offer extra features. If you don’t know the difference between a mirrorless and a DSLR, you can ignore me here. Check out sites like KEH and MPB for quality used gear to save a few bucks. But most importantly, pick what feels best for you.
Key features that are essential for wildlife photography include:
(1) Low Light Capabilities
Wildlife is most active at dawn and dusk, so you’ll want a camera that performs well in low light. This is where ISO comes in. ISO controls how sensitive your camera is to light. Many new cameras have two base ISOs. The base ISO is the lowest setting that gives you the clearest image with the least noise. It’s usually ISO 100 or 200, but some cameras have a second, higher base ISO. This is called Dual Base ISO. You can find these numbers in your camera manual or by checking a tutorial.
Why is this important for wildlife photography? When you shoot in low light, you’ll need to raise your ISO. A camera with Dual Base ISO or a sensor that keeps noise low will help you get better outdoor shots.
(2) Good Autofocus
Animals move a lot, so slow autofocus can make your photos blurry. Choose a camera that can focus quickly on your subject. Some cameras have eye-tracking, which is very helpful.
(3) High frames per second rate
You’ll probably take lots of photos to get one great wildlife shot. I use burst mode, especially for birds and moving animals, to improve my chances. A camera that can take many photos per second really helps. Also, make sure your SD cards are fast enough.
The factors above are most important when picking a camera. Here are a few more things to think about:
(A) APS-C (crop sensor) vs. Full Frame.
Many wildlife photographers use crop sensors because they offer greater reach, making distant animals appear larger in their photos without the need for heavy, expensive lenses. A crop sensor is smaller, making your lens appear more zoomed in than on a full-frame camera. The crop factor is usually 1.5 or 1.6 times that of a full-frame. This just means your subject looks closer. Crop sensor cameras are also lighter and often cost less. But full-frame cameras can work well for wildlife too.
(B) Number of pixels
This is the last thing to worry about, but it’s still good to know. Megapixels are the tiny details your camera can capture. More megapixels mean more detail, which helps when editing. But having too many can also be a downside. Check out this YouTube video on megapixels.
Telephoto Lens
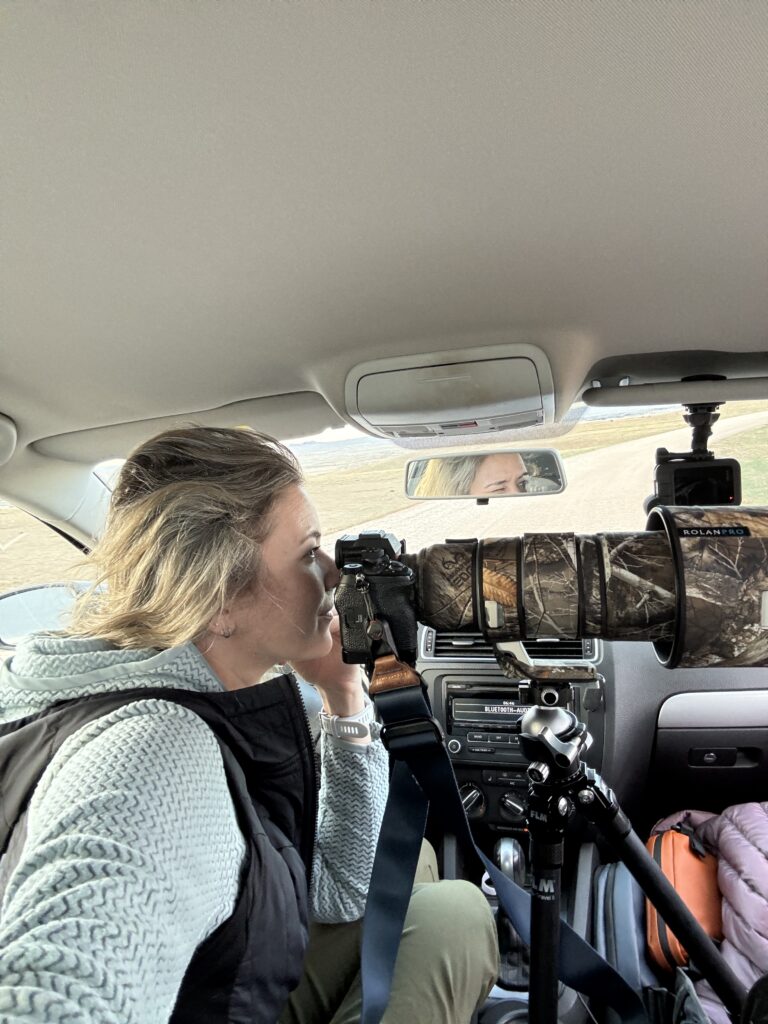
Wild animals can be unpredictable. Some let you get close, but most keep their distance, so a telephoto lens is often a must. Lenses with 300mm or more let you photograph animals from far away. Zoom lenses are flexible but can cost more, while prime lenses are sharp and usually cheaper. The Sony 600mm prime is an exception—it’s pricey, which seems odd.
Lens stabilization is another key feature. It helps keep your photos sharp by reducing blur from small movements. Make sure your lens has this, especially if you plan to shoot without a tripod.
My favorite lenses for full-frame cameras are the 100-400mm and 400-800mm, but I also enjoyed using a 70-200mm lens. If you’re not ready to buy a new lens, try using a teleconverter.
Tripod or Monopod
If your hands shake and your photos are blurry, a sturdy tripod will help you get the professional, sharp photos you want. If you want something lighter and faster, a monopod is a good alternative. It’s easier to carry and still helps steady your camera. Choose a tripod with an easy-to-use ball or gimbal head so you can move your camera smoothly.
I will be honest: I don’t typically use a tripod or even a monopod when I am photographing a moving subject. I will whip it out if I am sitting on a nest or a den and don’t want to hold my camera for hours at a time. But if I am watching a herd of bugling elk, or photographing Osprey hunting, I typically hand-hold my camera. If you feel the same way, or if a tripod is out of your budget, be ready to get creative with your shooting positions and turn on your camera’s stabilization. A tripod is most helpful when you want steady shots, need to shoot in low light, or plan to stay in one spot for a while.
Camera Bag
You’ve invested time and money in your wildlife photography gear, so it’s important to protect it. Always use a padded, weatherproof camera bag. Most bags have inserts for your gear—just make sure it’s big enough for your lenses and camera bodies.
Whether you like backpacks or sling bags, make sure yours has enough space for your gear and extras. I use a backpack for hikes and travel, and a sling bag for short trips.

Memory Cards and Batteries
It’s always smart to be prepared, especially when you are in the middle of nowhere with no Best Buy in sight. The last thing you want is a full memory card or a dead battery after all your planning. Bring extra high-capacity, fast memory cards and keep your batteries charged to save yourself a headache. Running out of memory or battery can be frustrating, so make sure before you leave. If you want to learn more about the different types of memory cards, here is a helpful podcast.
Lens Cleaning Kit
Nature can be messy, and it doesn’t care that the fox kits you have been stalking all spring are finally coming out of the den to play. In fact, that is the exact moment that a giant smudge will appear on your lens. You’ll quickly learn to keep your lenses clean and your cleaning kit handy. My basic kit includes a blower, a microfiber cloth, and a cleaning solution or wet wipes to keep your photos sharp.
Binoculars
Binoculars aren’t technically camera gear for wildlife photography, but they’ll save you from chasing blobs that look like bears. And trust me, there are plenty of them out there, especially in National Parks. A decent pair of binoculars will help you tell if that distant shape is a wolf or just a rock. You don’t need anything fancy, just something to quickly check what you’re seeing.
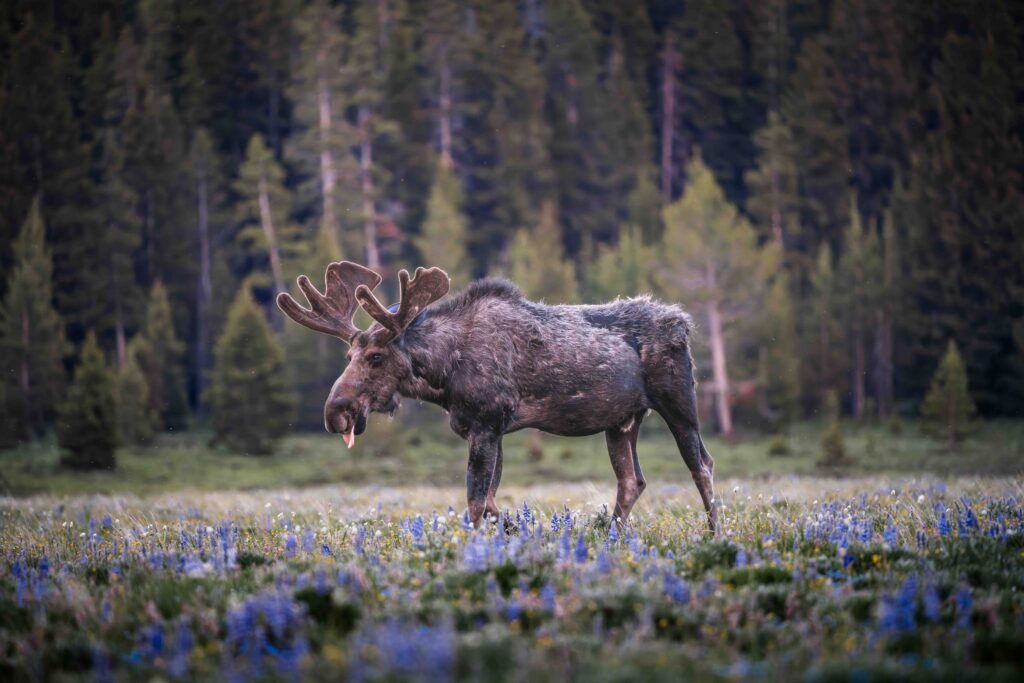
Wildlife photography can be more than merely a hobby; it’s a way to connect with nature. It is full of exciting moments, mistakes, and stories you’ll remember and document. However, getting started can feel overwhelming with all the gear available today. With this starter kit, you’re ready to explore and take great photos. Grab your wildlife photography gear and enjoy your time in nature. But remember: it’s not the kit that makes the photo; it’s the photographer. The gear in your closet right now is the best kit you have.